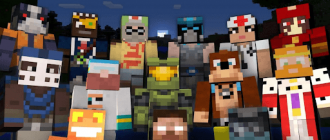
You’re tired that your Minecraft character all the time looks the same? Want to add a little personality to your gameplay? Well, you are lucky, because installing a skin in minecraft has become easier! In just a few simple steps, you can turn your block avatar into something unique and exciting. In this article I will tell you about the step-by-step process of installing a skin in Minecraft. Would you like to look like your favorite superhero, a popular video game or even as you yourself – I foreseed everything. Get ready to bring your adventures to Minecraft to a new level with a completely new look!
How to replace a standard skin with PC
To change the default skin on Minecraft on your computer and see it when loading one world, you can follow these instructions:
- Find the folder using the “Perform” command to manually change the skin in minecraft;
- Open the “Perform” menu by pressing Win + R on the keyboard. Enter “%Appdata%” (without quotation marks) and press the Enter key;
- When a new directory opens, go to the internal Roaming folder.
- Open the catalog with minecraft and find the basement “bin”;
- In the Bin submarket, find a file with the name “char” (or “skin”) and replace it with the one that you previously downloaded from the Internet. Make sure that the uploaded skin file has the corresponding format (usually PNG);
- If the specified catalog is absent, go to the “Assets/Skins” folder and insert the file there;
- After replacing the file, you can immediately start the Minecraft client and open any world to check the installation of the skin. If the game has already been launched, you may need to restart it so that the changes come into force.
Alternative option:
- Go to the Minecraft folder on your PC;
- Find the resulting image file with the skin that you downloaded and rename it in “Steve.png “(without quotes);
- In the “Exclude” menu, insert the command “%Appdata%\.Minecraft \ Versions \ “(without quotation marks) and confirm its input by pressing Enter;
- Find the catalog with the version of the game that you usually launch;
- In this directory, go to the Assets section > Minecraft > Textures > Entity “and insert a new skin file (which should now be called” Steve.png “).
Following these instructions, you can change the default skin on Minecraft on your computer and see it when loading one world.
Installation of a skin using third -party launches
There are many launches for Minecraft, many of which are loaded automatically if you use the unofficial version of the game. In these launchers, there is usually a separate tab or menu in the main menu where you can choose a skin for use in the game.
To find a new skin in Minecraft, you can look for a launcher on the Internet that offers the possibility of configuring the appearance of a character. In addition, you can download the launch program provided by the server you play, which will also allow you to configure the appearance of your character.
After you set a suitable launch program, you can configure the appearance of your character in accordance with your preferences. To do this, you can choose one of the existing skins or create your own.
How to install a skin on the server
When playing on the server, you can change your Minecraft skin using the commands provided by the server administration. To do this, you can either visit the official website of the server, or use the tint team that will provide you with a list of all available skins options.
It is important to note that when you change the skin, it will be visible to all other players on the server. However, some skins can be available only to the administration or other privileged users, so it is quite possible that you will not find the same skin as the other player on the same server.
Conclusion
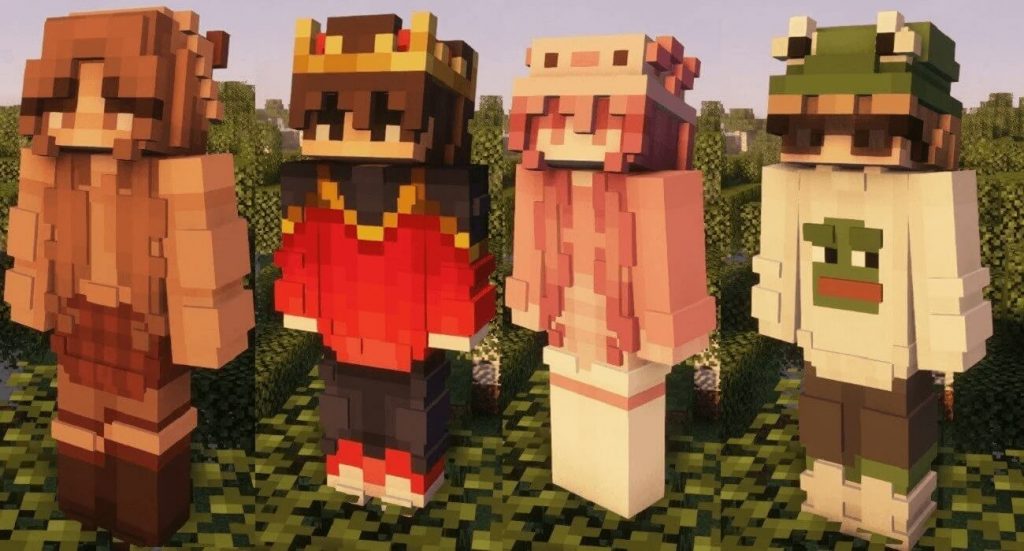
In conclusion, I want to say that the change of skin in minecraft is an interesting and exciting way to personalize the gameplay. Would you like to imitate your beloved character or create your own unique image, a step-by-step and detailed process described in this manual will help you cope with the installation. The choice of the option depends on the specific version of the game you play, and on whether you want other players on the server can see a new skin. So, take your favorite skin, follow the instructions and get ready to stand out in the world of Minecraft with your new look!